 English
 عربى
عربى
 中文繁体
中文繁体

Content
- 1 Why Conveyor Belts Drift Off Center
- 2 Pre-Adjustment Checks That Save Time
- 3 How to Adjust a Conveyor Belt to Run Straight
- 4 Common Mistakes and Safety Cautions
- 5 Linking Belt Tracking to Molding Machine Reliability
- 6 Keep Brake Pad Feeding Square and Stable
- 7 Preventive Maintenance and the Bigger Picture
When a conveyor belt starts drifting to one side, you notice the edge fraying long before the product lands on the floor. The belt rubs against the frame, the load shifts, and operators end up re-centering the belt every shift. The fastest fix is not a new belt or a major retrofit. It is a set of small, deliberate adjustments. The key is to make every pulley and roller square to the belt’s running direction, and to keep the tension equal on both sides.
Why Conveyor Belts Drift Off Center
Most belt tracking problems come from one or more of these causes:
- Misaligned frames or pulleys: A pulley that is not perpendicular to the belt axis pushes the belt toward the lower-tension side.
- Uneven belt tension: If one edge of the belt stretches more than the other, the belt begins to curve away from the longer edge.
- Material buildup on idlers and pulleys: Debris coating one side of a roller creates a fake crown that steers the belt off center.
- Off-center loading: When material always lands on one side of the belt, the belt is forced to the opposite side.
Use a straight edge and a level to check the frame before you make any adjustment. A bent frame is the one problem no amount of tension tweaking will solve.
Leaving the problem untreated can also create safety risks. The belt can climb over the edge of a return idler and hit the frame, causing a sudden shutdown. That shutdown costs far more than the ten minutes you would spend adjusting the belt now.
Pre-Adjustment Checks That Save Time
Before you touch any adjustment bolts, run a quick visual and measurement check. The table below shows the values I use in the field.
| Checkpoint | Target | What to do |
|---|---|---|
| Pulley squareness | Within 1 degree (5 mm over a 1 m span) | Use a laser level or straight edge across the pulley face |
| Belt tension | Equal on both sides; no visible sag | Turn both take-up bolts by the same number of turns; verify with a tension gauge |
| Roller cleanliness | No rubber, dust, or foreign material on the face | Scrape with a non-sparking tool and wipe clean |
| Load placement | Centered within 10% of belt width | Adjust the loading chute or deflector plates |
If you find any of these issues, fix them first. A dirty roller will defeat a perfect tension adjustment in less than an hour.
How to Adjust a Conveyor Belt to Run Straight
Start the conveyor and observe the belt pattern under a full load. Adjust only while the belt is running. Never loosen a take-up bolt on a stopped belt, because the belt settles on one side when it stops, and you will make the problem worse.
Step 1: Square Every Pulley and Roller
All pulleys, idlers, and rollers must be fitted at right angles to the belt running axis. Use a 1/4-turn rule: make one small adjustment, wait for the belt to complete several revolutions, and then check again. A deviation larger than 2 mm over the pulley width is enough to cause visible tracking errors.
Step 2: Balance Belt Tension on Both Sides
If the belt runs to the left side, tighten the left take-up bolt and slack the right side by the same amount. The belt will move back toward the center. Do not turn more than 1/2 turn at a time. Give the belt time to respond, then re-check.
Step 3: Use Tracking Idlers for Long Belts
For conveyors longer than 30 meters, or with frequent load changes, install a return-side tracking idler. These idlers tilt slightly into the belt path and automatically correct minor drift. On short, wide belts, a crowned pulley will keep the belt self-centering without constant adjustment.
Common Mistakes and Safety Cautions
Belt adjustment is simple, but it is easy to overcorrect. Watch for these mistakes:
- Adjusting both sides at once. Always change one side, observe the result, then change the other side if needed.
- Turning bolts more than half a turn before re-checking.
- Forgetting to re-tighten locking nuts after making an adjustment.
- Using a hammer to shift a frame. Always loosen the bolts first, position the frame, then re-tighten.
- Standing too close to the running belt. A fast-moving belt can snap side to side unexpectedly.
A small mistake can damage the belt edge or cause material spillage. The easiest way to avoid errors is to record every adjustment in a log, including the side you tightened and the number of turns.
Linking Belt Tracking to Molding Machine Reliability
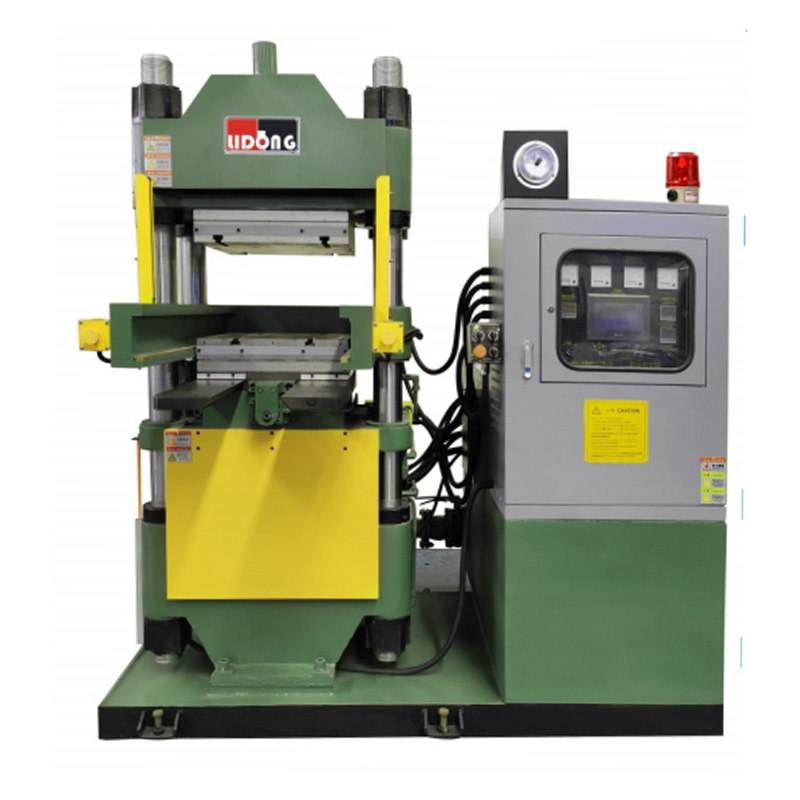
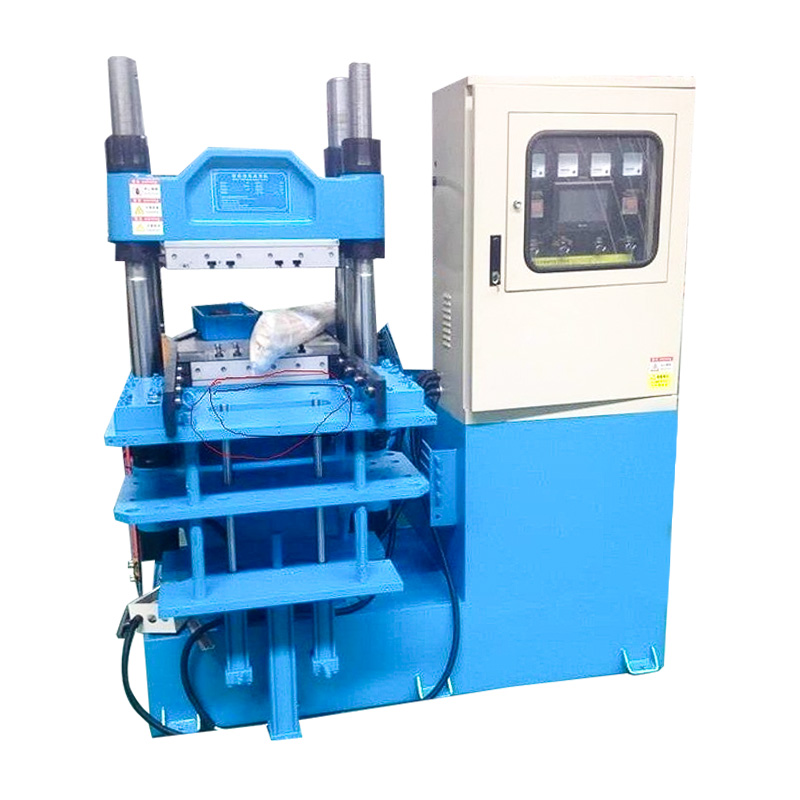
In a rubber processing plant, the conveyor belt is the delivery system that feeds the vulcanizing press. When the belt wanders, the rubber slug hits the mold off-center. The result is flash, voids, or uneven part density. The conveyor adjustment removes the obvious cause, but the real quality driver is the press itself. A precision plate vulcanizing press with caged tie bars and balanced platen pressure can accept a slightly off-center feed without creating rejects, which reduces how often you need to stop and tweak the belt.
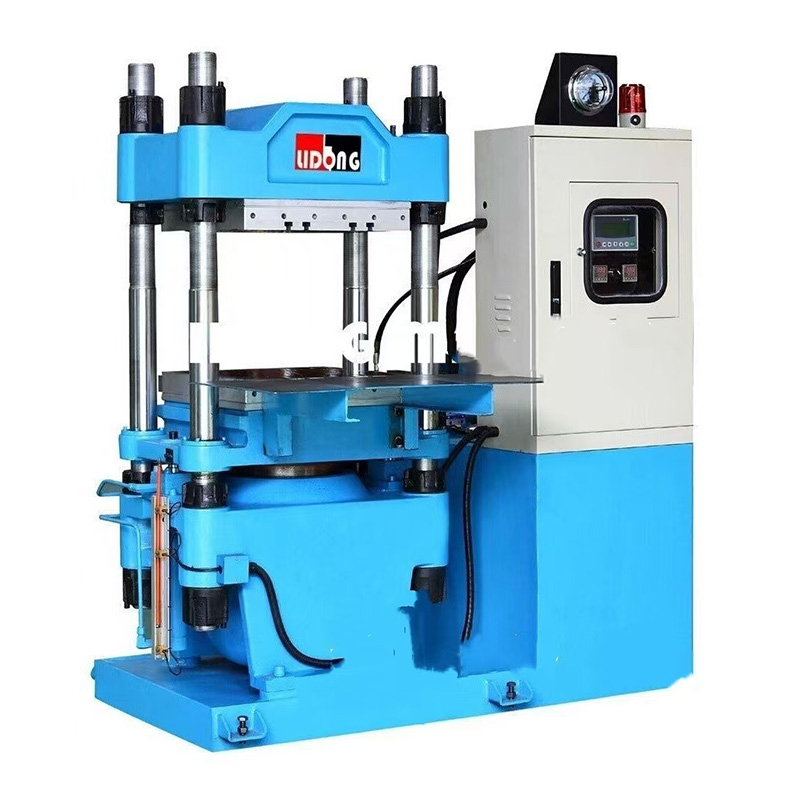 Precision Plate Vulcanizing Press with Caged Tie Bars and Balanced Platen PressureThis plate vulcanizing press uses automation and a control system to reduce manual impact, increase production efficiency, and ensure high precision and quality. Its balanced pressure can tolerate slightly off-center feed, minimizing rejects and improving first-pass yield.View Product →
Pairing a square-running belt with a press that delivers even temperature and pressure is the fastest way to raise your first-pass yield.
Keep Brake Pad Feeding Square and Stable
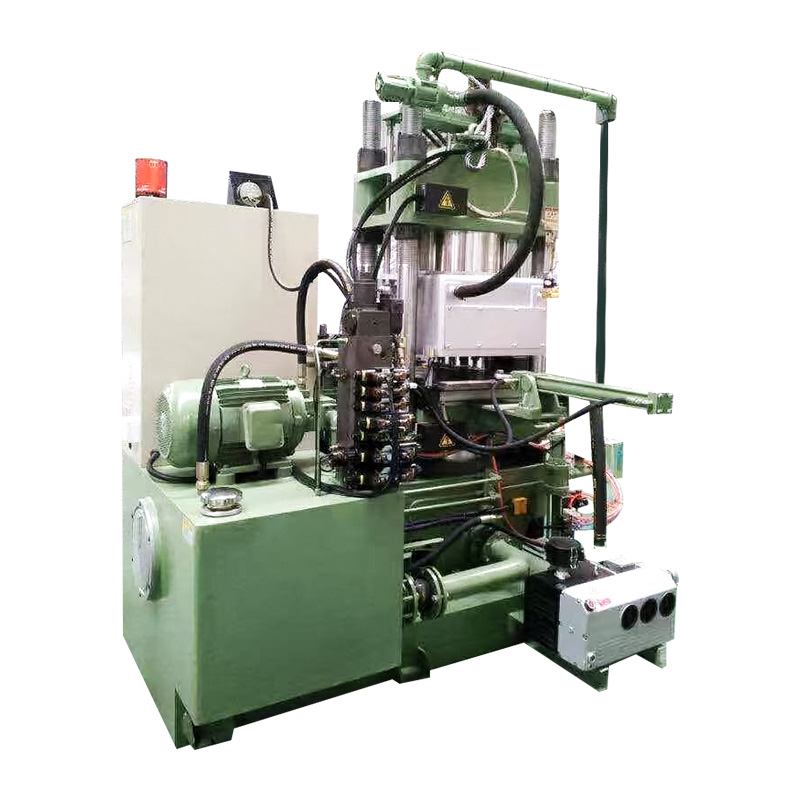
Brake pad production lines face the same challenge. Preforms are transferred by a short belt conveyor into the brake pad press machine. If the preform enters the die at a slight angle, the finished pad can have a visible density variation. A car disc brake pad press with stable hydraulic pressure and precise temperature zones keeps the pressing force vertical, so even a small feed misalignment does not turn into a rejected brake pad.
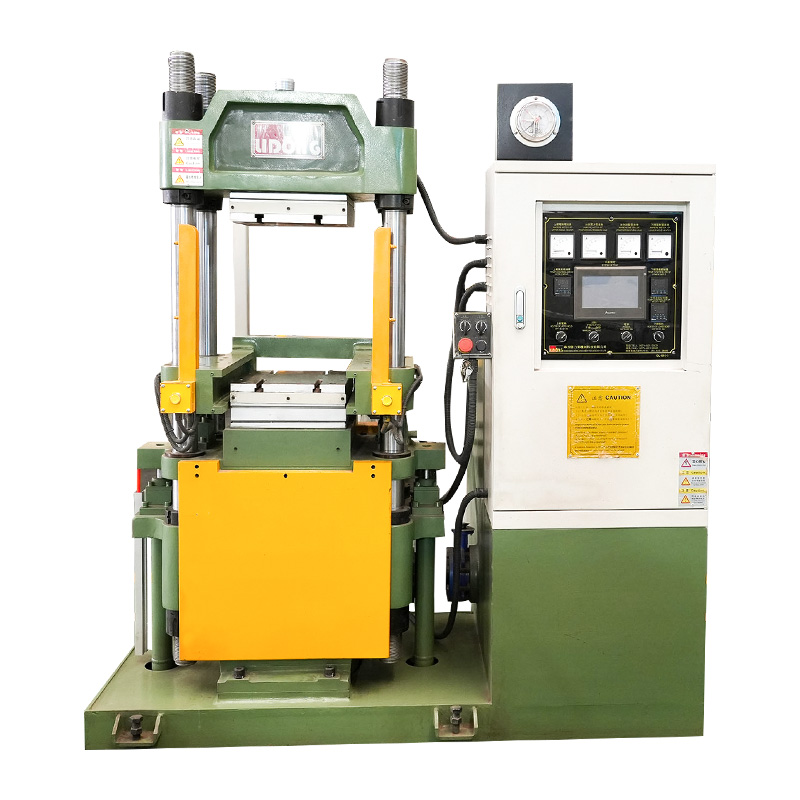 Car Disc Brake Pad Press with Stable Hydraulic Pressure and Precise Temperature ZonesThis hydraulic brake pad hot press features a robust structure, customizable pressure (300-500T), and PLC control for consistent quality. It ensures vertical pressing force, reducing density variations even with slight feed misalignment, suitable for various vehicle types.View Product →
This is why maintenance teams that already align their conveyors still invest in a press with predictable hydraulic control and simple die change rules.
Preventive Maintenance and the Bigger Picture
Belt tracking is not a one-time fix. Add a monthly check of all pulley bolts, tension bolts, and tracking idlers. Keep the conveyor frame clean and the loading chute stable. For molding machines, also follow the recommended operating parameters and safety procedures to avoid unnecessary wear on the machine and the surrounding material handling system.
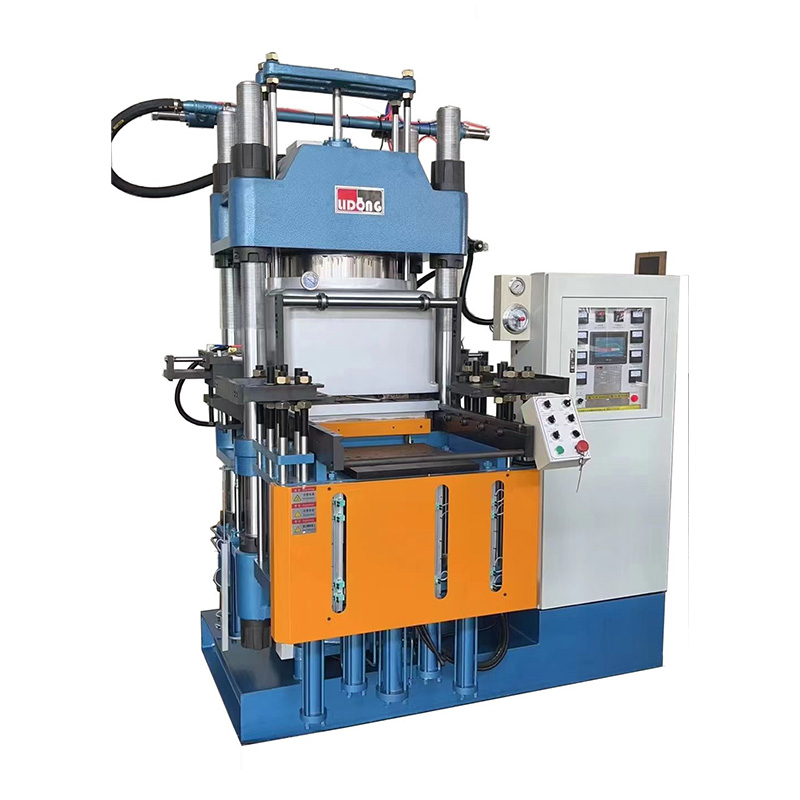
If you use a rubber injection molding machine to produce seals or rubber parts, the conveyor often carries the rubber strip into the injection unit. Clean feed and correct belt tracking protect the consistency of the shot weight. A machine with a well-designed injection system provides the stability that keeps production predictable even when material handling is less than perfect.
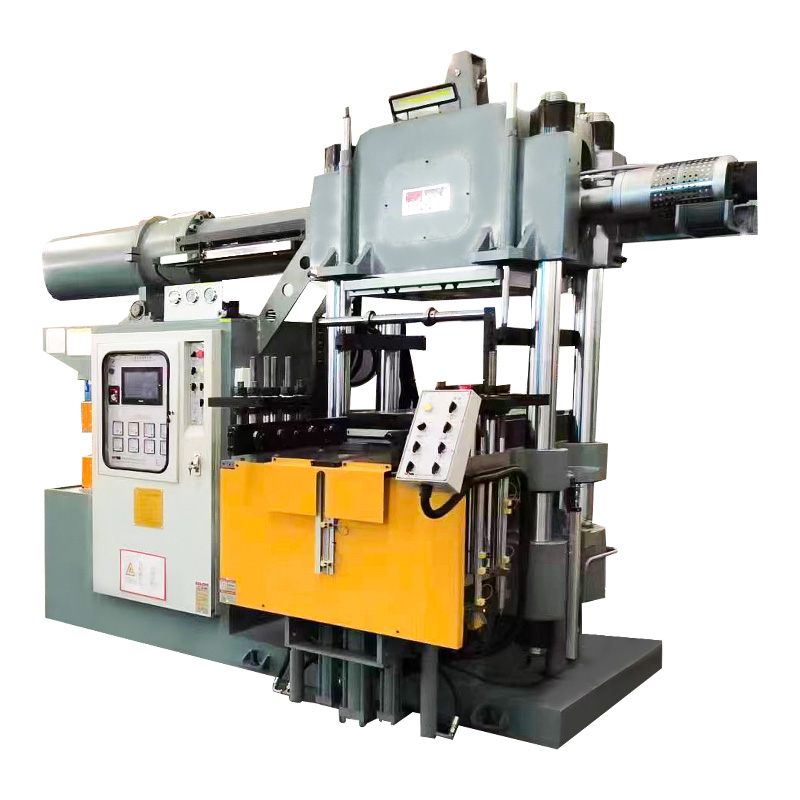 Rubber Injection Molding Machine with Screw Injection and Constant-Temperature AccumulatorThis machine achieves near-perfect finished product qualification rates with minimal flash. Its screw injection and constant-temperature accumulator shorten curing time, increasing efficiency and lowering labor costs. Ideal for complex rubber parts in sports, medical, automotive, and electronics.View Product →
For more on press setup and daily safety checks, see our guide on operating parameters and safety procedures.